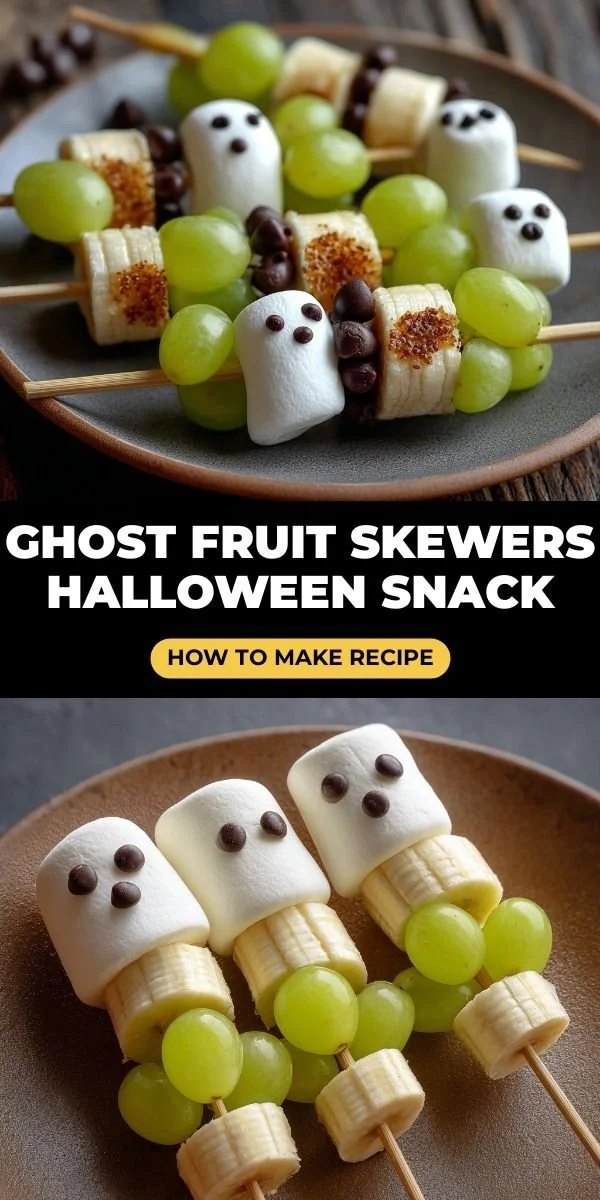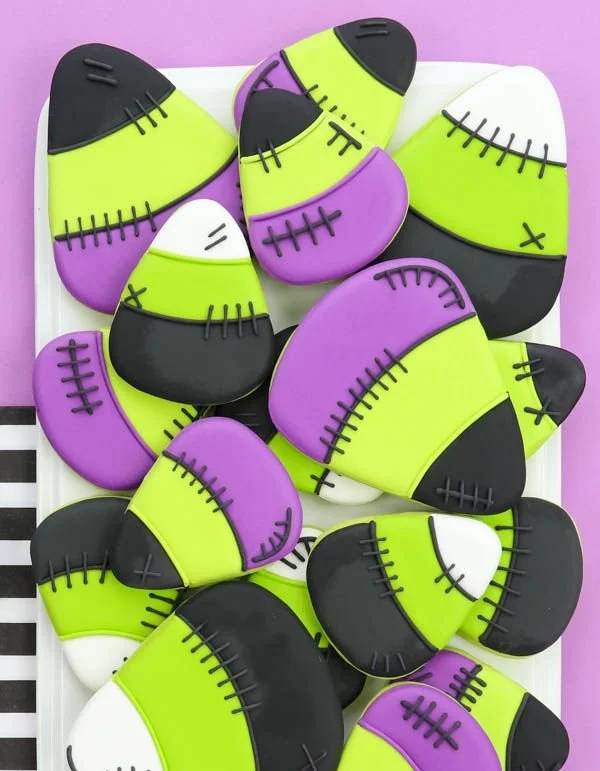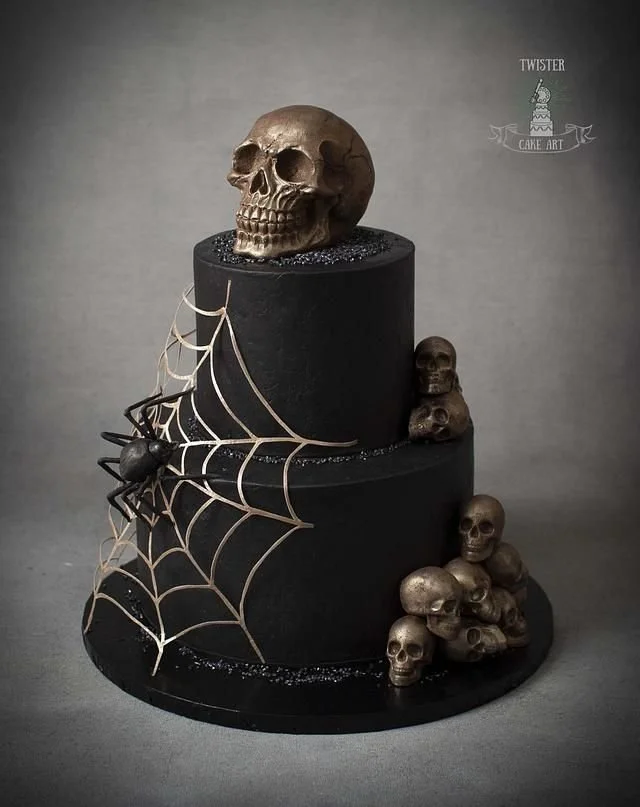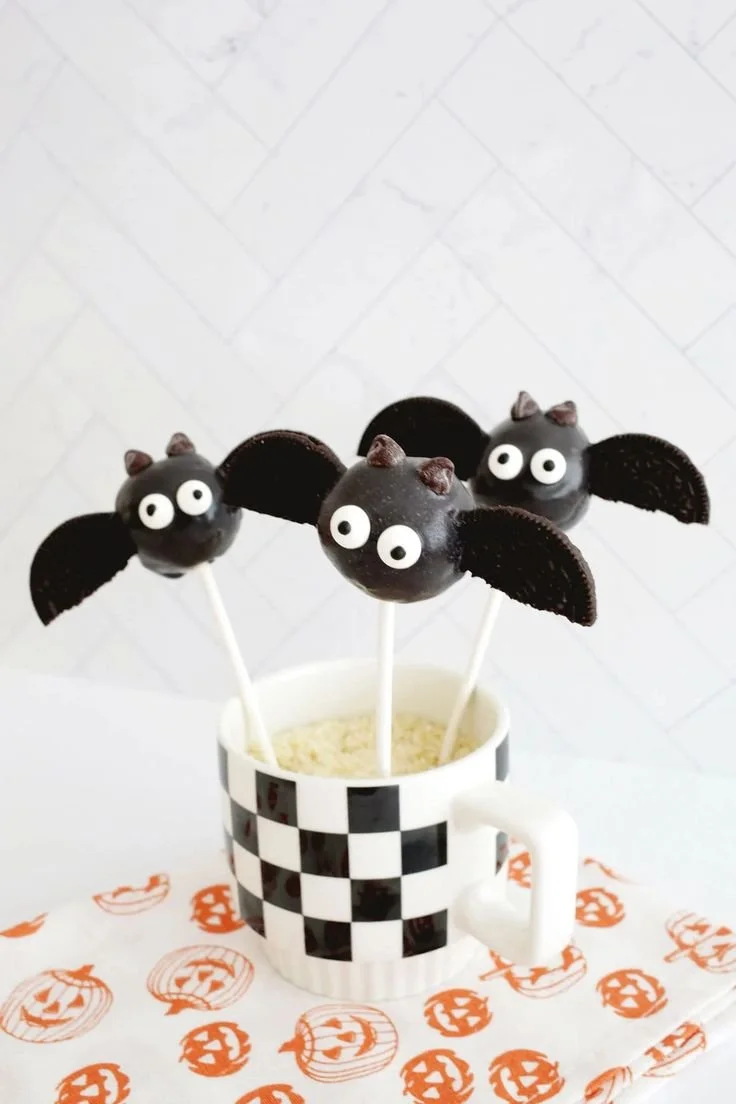
Making Halloween festive is a treat with these Easy Halloween Cake Pops. These delightful bites are perfect for parties, quick snacks, or Halloween gatherings. They’re easy to make, fun to decorate, and always a crowd favorite, bringing smiles to kids and adults alike.
Why You’ll Love Easy Halloween Cake Pops
- Simple to Make: These cake pops use a no-fuss cake mix, making preparation quick for even the busiest home cooks.
- Customizable Decorations: You can let your creativity shine by decorating with different colored coatings and sprinkles for a spooky or festive look.
- Perfect for Any Occasion: Not only are they great for Halloween, but they also fit into birthday parties and any fun get-together.
- Kid-Friendly Fun: This is a great project to involve kids. They can help with mixing, rolling, and decorating, making it a fun family activity.
- Portable Treats: Cake pops are easy to transport and can be enjoyed without the need for plates or utensils, making them perfect for parties or potlucks.
Recipe Overview
- Prep Time: 30 minutes
- Cook Time: 30 minutes
- Total Time: 1 hour
- Servings: 20 cake pops
- Difficulty Level: Easy
Ingredients You’ll Need for Easy Halloween Cake Pops
-
For the Cake Pop Base:
- 1 box chocolate cake mix: This serves as the foundation of your cake pops. Choose your favorite flavor!
- Ingredients listed on the cake mix box (usually eggs, oil, and water): Follow the package instructions for baking your cake.
-
For the Coating:
- 1 package candy melts (orange, purple, or other colors): This will coat your cake pops and add a festive touch.
- 1 tablespoon shortening (optional): This helps to thin the candy melts for a smoother coating.
-
For Decorating:
- Sprinkles (Halloween-themed): Fun additions that can enhance the festive look.
- Lollipop sticks: To hold the cake pops.

How to Make Easy Halloween Cake Pops
-
Bake the Cake:
Prepare the cake according to the package directions. Let it cool completely before proceeding. -
Crumble the Cake:
Once the cake is cool, crumble it into a large bowl using your hands until it resembles fine crumbs. -
Mix with Frosting:
Incorporate about half a cup of store-bought frosting into the cake crumbs. Mix thoroughly until the mixture holds together when shaped. -
Form the Cake Balls:
Roll the mixture into 1-inch balls. Place them on a baking sheet lined with parchment paper and chill in the refrigerator for 30 minutes. -
Prepare the Coating:
Melt the candy melts as directed on the package. If desired, mix in shortening to achieve a smoother consistency. -
Insert the Sticks:
Dip the tip of lollipop sticks into the melted candy melts, then gently insert them into the chilled cake balls, about halfway through. This helps to secure the stick. -
Coat the Cake Pops:
Dip each cake ball into the melted candy melts, thoroughly coating each one. Tap gently to remove excess coating. -
Decorate:
While the coating is still wet, sprinkle your Halloween-themed decorations on top. -
Set the Cake Pops:
Place the decorated pops upright in a foam block or stand until the coating hardens completely.
Tips for Success
- Ensure the Cake is Cool: Baking the cake in advance ensures it’s completely cool, making it easier to crumble and mix without melting the frosting.
- Chill After Forming Balls: Chilling the cake balls helps them maintain their shape during coating.
- Don’t Overheat Candy Melts: Melt the candy melts in 30-second intervals, stirring in between, to prevent burning.
- Experiment with Flavors: Swap out the chocolate cake for vanilla or red velvet to create a different flavor profile.
- Use Quality Decorations: Choose festive and fun sprinkles to really make your Halloween cake pops eye-catching.
Easy Variations
- Use Different Cake Flavors: Try white or red velvet cake for a change and pair with contrasting colored candy melts.
- Add Extracts: Enhance the flavor by mixing in extracts (vanilla, almond) into the cake mixture.
- Chocolate Coating: Instead of candy melts, dip cake pops in melted chocolate for a richer taste.
- Include Fillings: Add edible eyes or candy corn inside the cake for a hidden surprise.
- Dairy-Free Option: Use a dairy-free cake mix and frosting to make these treats friendly for lactose-intolerant family members.
What to Serve with Easy Halloween Cake Pops
- Spider Web Brownies: The chocolatey richness pairs perfectly with the sweet cake pops.
- Pumpkin Spice Cookies: Enhance the fall theme with these spiced delights.
- Fruit Platter: A refreshing contrast to the sweetness of the cake pops, making for a well-rounded dessert table.
- Hot Chocolate Station: Offer this warm beverage on the side for added comfort during chilly Halloween evenings.
- Candy Corn Trail Mix: A fun snack option that matches the holiday mood while providing a crunchy contrast.
Storage and Reheating
- Refrigerator Storage: Store leftover cake pops in an airtight container in the refrigerator for up to a week.
- Freezer Storage: You can freeze cake pops before coating for longer preservation. When ready to enjoy, let them thaw in the fridge.
- Best Reheating Method: Reheating is not necessary, but if you’d like to improve the texture, bring them to room temperature briefly before serving.
- Preserve Texture: Keep cake pops in a single layer to maintain their shape while storing.
Common Mistakes to Avoid
- Not Chilling the Cake Balls: Skipping the refrigeration step can lead to misshapen or fallen cake pops.
- Overheating Coating: Be mindful of the temperature when melting candy melts; overheating can cause clumping or burning.
- Using Too Much Frosting: Adding too much frosting can make the mixture too wet, leading to cake pops that won’t hold together.
- Skipping Decorations: Leaving them undecorated defeats the fun and visual appeal of Halloween cake pops.
- Not Tapping Off Excess Coating: Failing to tap off the extra coating can result in heavy, drippy cake pops.
Easy Halloween Cake Pops: Background & Cultural Inspiration
Cake pops have become a popular dessert trend in recent years due to their bite-sized nature, making them perfect for sharing. Originating from the creativity of home bakers looking to reduce cake waste, they have transformed into a festive favorite for celebrations like birthdays and holidays. Halloween cake pops in particular can be traced back to the creative urge to make treats more playful and visually appealing during the spooky season—making them a fun way to enjoy traditional desserts in a new form.
Frequently Asked Questions
Can I use a gluten-free cake mix?
Yes, feel free to substitute a gluten-free cake mix to make these cake pops suitable for gluten-sensitive folks.
How long can I store the cake pops?
You can store them in the refrigerator for up to a week or freeze them for up to three months.
Can I make the cake pops in advance?
Absolutely! Preparing them a day before your gathering is a great way to save time.
How can I make cake pops less sweet?
Try using less frosting or opting for a less sweet chocolate or candy melts coating.
What can I do if the cake pop batter is too dry?
If the mixture feels dry, gradually add a bit more frosting until you achieve a moldable consistency.
Final Thoughts
Easy Halloween Cake Pops are a fantastic addition to any fall celebration. They’re not only fun to make, but they also deliver a delightful taste that will satisfy every sweet tooth. Gather the kids, unleash your creativity, and enjoy making these little treats that are sure to be loved by all. Happy baking!
PrintEasy Halloween Cake Pops
Delightful Easy Halloween Cake Pops perfect for parties, quick snacks, or Halloween gatherings.
- Prep Time: 30 minutes
- Cook Time: 30 minutes
- Total Time: 60 minutes
- Yield: 20 cake pops
- Category: Dessert
- Method: Baking
- Cuisine: American
- Diet: Vegetarian
Ingredients
- 1 box chocolate cake mix
- Ingredients listed on the cake mix box (usually eggs, oil, and water)
- 1 package candy melts (orange, purple, or other colors)
- 1 tablespoon shortening (optional)
- Sprinkles (Halloween-themed)
- Lollipop sticks
Instructions
- Prepare the cake according to the package directions. Let it cool completely before proceeding.
- Crumble the cake into a large bowl using your hands until it resembles fine crumbs.
- Incorporate about half a cup of store-bought frosting into the cake crumbs. Mix thoroughly until the mixture holds together when shaped.
- Roll the mixture into 1-inch balls. Place them on a baking sheet lined with parchment paper and chill in the refrigerator for 30 minutes.
- Melt the candy melts as directed on the package. If desired, mix in shortening to achieve a smoother consistency.
- Dip the tip of lollipop sticks into the melted candy melts, then gently insert them into the chilled cake balls, about halfway through.
- Coat each cake ball into the melted candy melts, thoroughly coating each one. Tap gently to remove excess coating.
- While the coating is still wet, sprinkle your Halloween-themed decorations on top.
- Place the decorated pops upright in a foam block or stand until the coating hardens completely.
Notes
Ensure the cake is cool before crumbling and mixing. Experiment with different cake flavors and decorations for variety.