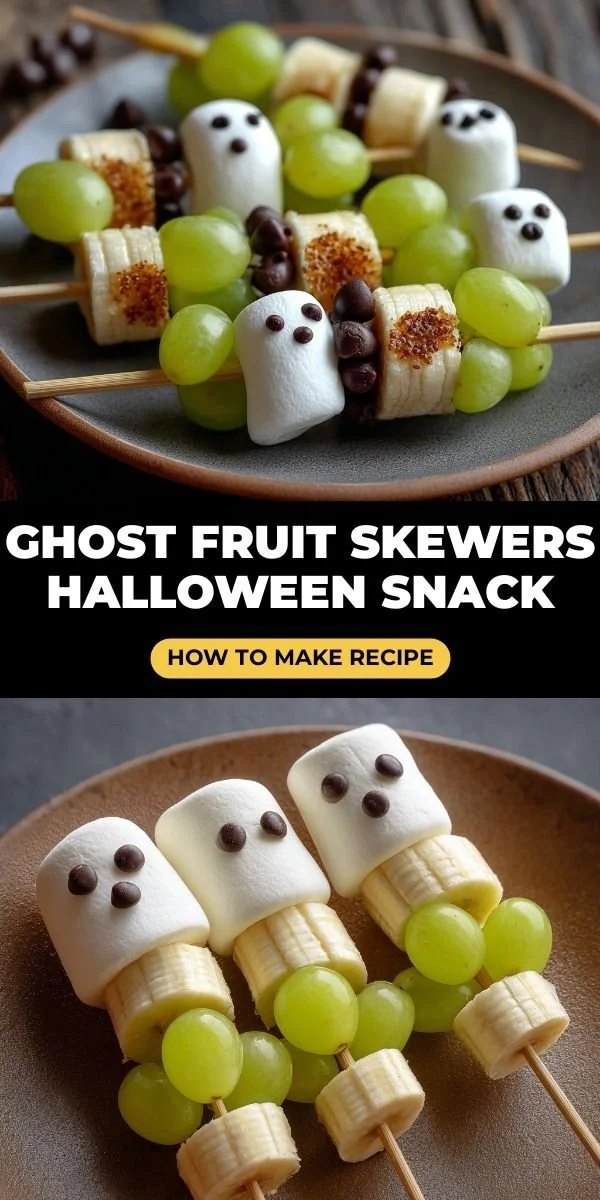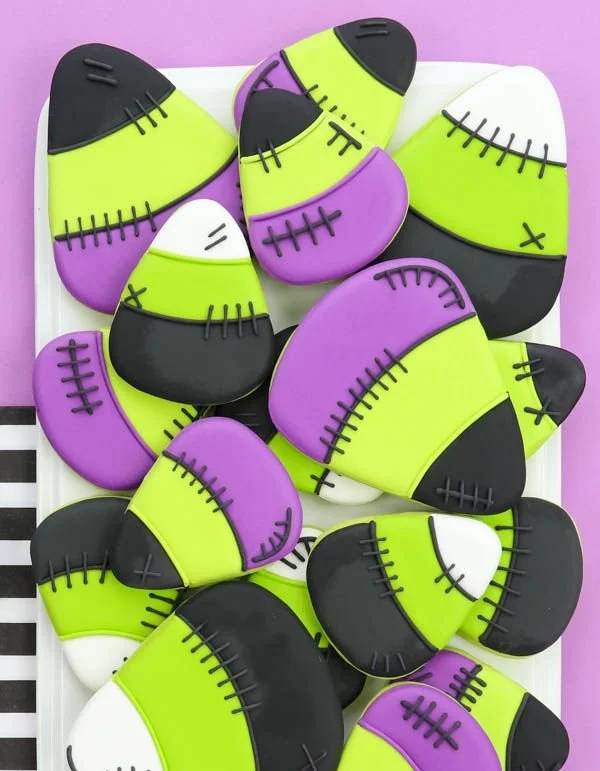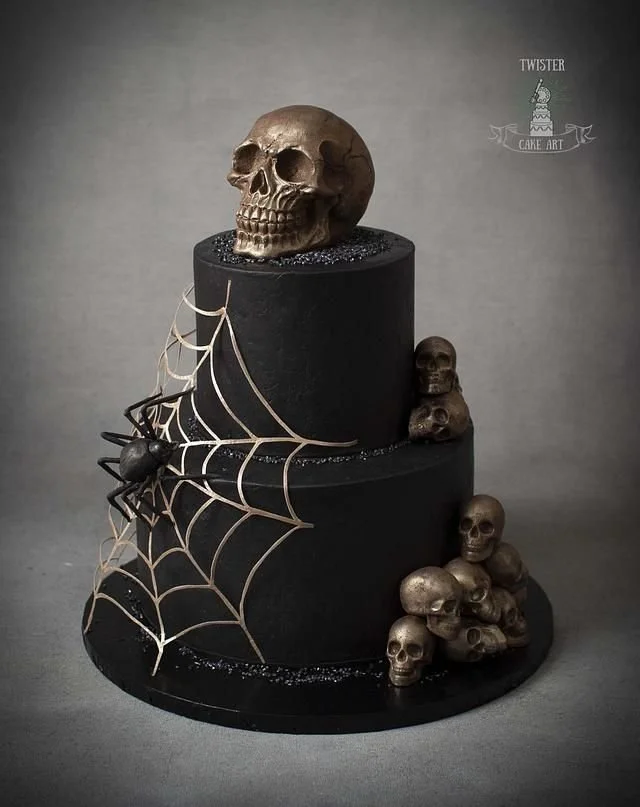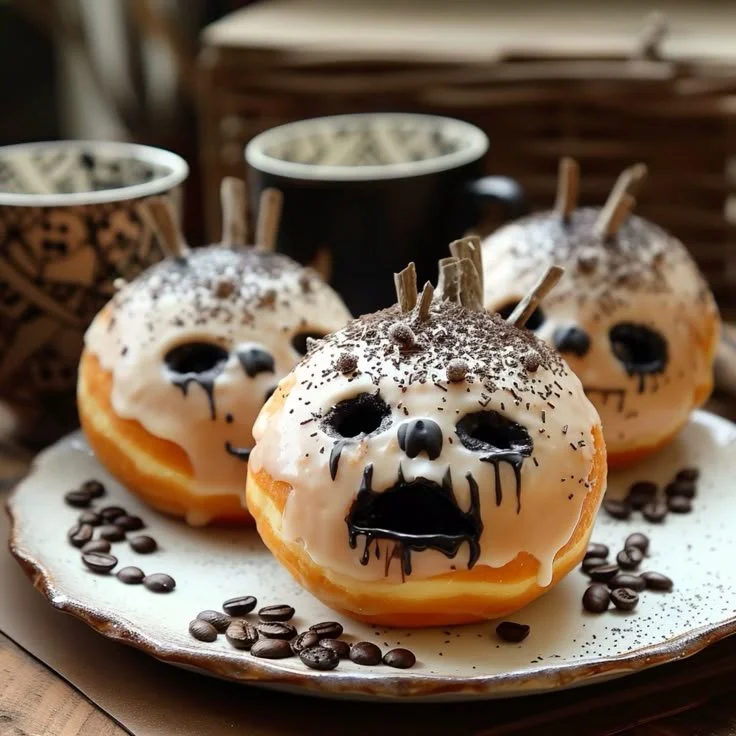
Halloween doughnuts are a delightful treat that perfectly captures the whimsical spirit of the season. These fun and spooky sweets are not only a great way to celebrate but also easy to make at home. With a blend of delicious flavors and a creative design, they’re guaranteed to be a hit at any Halloween gathering or during cozy family nights.
Why You’ll Love Halloween Doughnuts
- Fun Presentation: These doughnuts feature a playful ghostly design that’s sure to bring a smile to everyone’s face. The contrasting black and white glazes create a visually striking treat.
- Customizable Flavors: You can easily modify the flavor of the doughnut dough to your liking, whether you prefer traditional, pumpkin-spiced, or chocolate variations.
- Perfect for Any Skill Level: Whether you’re a seasoned baker or a kitchen novice, this recipe is straightforward and forgiving, making it accessible for all.
- Great for Celebrations: Ideal for Halloween parties, school events, or casual family fun, these doughnuts are a festive addition to your seasonal celebrations.
- Kid-Friendly Activity: Making these Halloween doughnuts can be a fun and rewarding activity to engage kids in the kitchen, allowing them to decorate their own treats.
Recipe Overview
- Prep Time: 20 minutes
- Cook Time: 30 minutes
- Total Time: 50 minutes
- Servings: Approximately 10 doughnuts
- Difficulty Level: Easy
Ingredients You’ll Need for Halloween Doughnuts
For the Doughnut Dough:
- Doughnut dough (homemade or store-bought)
For the Icing:
- Black icing or glaze (for the ghostly half)
- White icing or glaze (for the other half)
For Decoration:
- Chocolate shavings (to create spooky features)
- Ghost-shaped cookie cutter (optional)

How to Make Halloween Doughnuts
-
Prepare the Doughnut Dough: Start by making the doughnut dough according to your favorite recipe or package instructions. If you’re using pre-made dough, just ensure it’s thawed if frozen and ready to go.
-
Cook the Doughnuts: Once the dough is ready, fry or bake the doughnuts until they are golden brown. This usually takes about 5-7 minutes if frying. If baking, follow your recipe’s guidelines for timing.
-
Cool the Doughnuts: After cooking, move the doughnuts to a wire rack and allow them to cool completely. This is an important step, as glazes will slide off warm doughnuts.
-
Glaze the Doughnuts: Dip half of each cooled doughnut in the black glaze and the other half in the white glaze, creating a spooky half-and-half effect. Allow any excess glaze to drip off.
-
Add Spooky Details: While the glaze is still wet, sprinkle chocolate shavings on top to add creepy features. You can also use the ghost-shaped cookie cutter to cut out shapes from the dough for added fun.
-
Set and Serve: Let the glaze set before serving. This usually takes about 10-15 minutes. Then, your Halloween doughnuts are ready to charm your guests!
Tips for Success
- Ensure Proper Cooling: Fully cooling the doughnuts before glazing is essential to prevent the glazes from melting off.
- Check Glaze Consistency: The glazes should be thick enough to coat but not so thick that they won’t drip slightly for a nice finish.
- Use Fresh Ingredients: Fresh doughnut dough will yield the best texture and flavor.
- Avoid Overcrowding the Pan: If frying, fry in batches to maintain the oil temperature and ensure even cooking.
Easy Variations
- Spicy Pumpkin Doughnuts: Swap in pumpkin puree and spice mix for a seasonal twist on the base dough.
- Chocolate Doughnuts: Add cocoa powder to the dough for a rich chocolate flavor that pairs beautifully with the bright icing.
- Gluten-Free Option: Use a gluten-free flour blend to make the doughnut dough suitable for gluten-sensitive guests.
- Nutty Addition: Incorporate finely chopped nuts into the dough for added texture and flavor.
What to Serve with Halloween Doughnuts
- Apple Cider: A classic fall drink that complements the sugary sweetness of the doughnuts.
- Hot Chocolate: Rich and creamy hot chocolate is a cozy pairing, especially if you’re serving these on colder autumn nights.
- Pumpkin Spice Lattes: For a festive touch, offer pumpkin spice lattes alongside the doughnuts.
- Spooky Fruit Salad: Create a mix of autumn fruits like apples, pears, and oranges for a refreshing side.
Storage and Reheating
- Refrigerator Storage: Keep any leftovers in an airtight container in the refrigerator for up to 3 days.
- Freezer Storage: Freeze unglazed doughnuts for up to 2 months. Thaw and glaze them just before serving.
- Reheating: To maintain texture, reheat doughnuts in the oven at 350°F for about 5-7 minutes, rather than using a microwave.
Common Mistakes to Avoid
- Skipping the Cooling Step: This can lead to runny glaze and messy doughnuts.
- Overcooking: Keep a close eye on frying doughnuts to avoid burning; use a thermometer for the oil if needed.
- Not Glazing Immediately: Glaze while the doughnut is still slightly warm for better adhesion.
Halloween Doughnuts: Background & Cultural Inspiration
Halloween doughnuts draw inspiration from the spooky themes and traditions associated with the holiday. Originating in Europe, the tradition of making festive treats around Halloween has evolved over time, incorporating local flavors and styles. The fun and creative designs you find in modern Halloween doughnuts reflect the holiday’s whimsical nature, inviting bakers to experiment with flavors and visual appeal. This recipe celebrates the seasonal shift, showcasing delicious treats while bringing communities and families together for festive fun.
Frequently Asked Questions
Can I use store-bought doughnut dough?
Yes, using store-bought doughnut dough is a great time-saver and still yields delicious results.
How long do these doughnuts stay fresh?
When stored properly, these doughnuts will stay fresh in the refrigerator for up to 3 days. However, they’re best enjoyed within 1-2 days.
Can I make these doughnuts in advance?
Yes, you can prepare the dough in advance and freeze unglazed doughnuts. Just glaze them before serving.
What can I substitute for chocolate shavings?
If you don’t have chocolate shavings, you can use mini chocolate chips or even colorful sprinkles for decoration.
How can I make my icing more flavorful?
Consider adding a splash of vanilla extract or flavoring syrup to your glazes for an extra layer of sweetness and taste.
Final Thoughts
Making Halloween doughnuts is a delightful way to get into the festive spirit and treat your loved ones. These fun and easy sweets bring together simple ingredients and creative designs to create a guaranteed crowd-pleaser. Whether you’re enjoying them at a party or during a cozy evening, these doughnuts are worth trying out. Gather your ingredients and get ready for a fun-filled time in the kitchen!
PrintHalloween Doughnuts

Delightful Halloween doughnuts featuring a playful ghostly design, easy to make and perfect for celebrations.
- Prep Time: 20 minutes
- Cook Time: 30 minutes
- Total Time: 50 minutes
- Yield: 10 doughnuts
- Category: Dessert
- Method: Frying or Baking
- Cuisine: American
- Diet: Vegetarian
Ingredients
- Doughnut dough (homemade or store-bought)
- Black icing or glaze (for the ghostly half)
- White icing or glaze (for the other half)
- Chocolate shavings (to create spooky features)
- Ghost-shaped cookie cutter (optional)
Instructions
- Prepare the doughnut dough by following your favorite recipe or package instructions.
- Cook the doughnuts until golden brown, frying for about 5-7 minutes or baking according to your recipe.
- Cool the doughnuts on a wire rack until completely cooled.
- Glaze the cooled doughnuts by dipping half in black glaze and half in white glaze.
- Add chocolate shavings on top while the glaze is still wet for spooky features.
- Set the doughnuts aside to allow the glaze to set for about 10-15 minutes before serving.
Notes
Ensure doughnuts are fully cooled before glazing to prevent the glaze from sliding off.